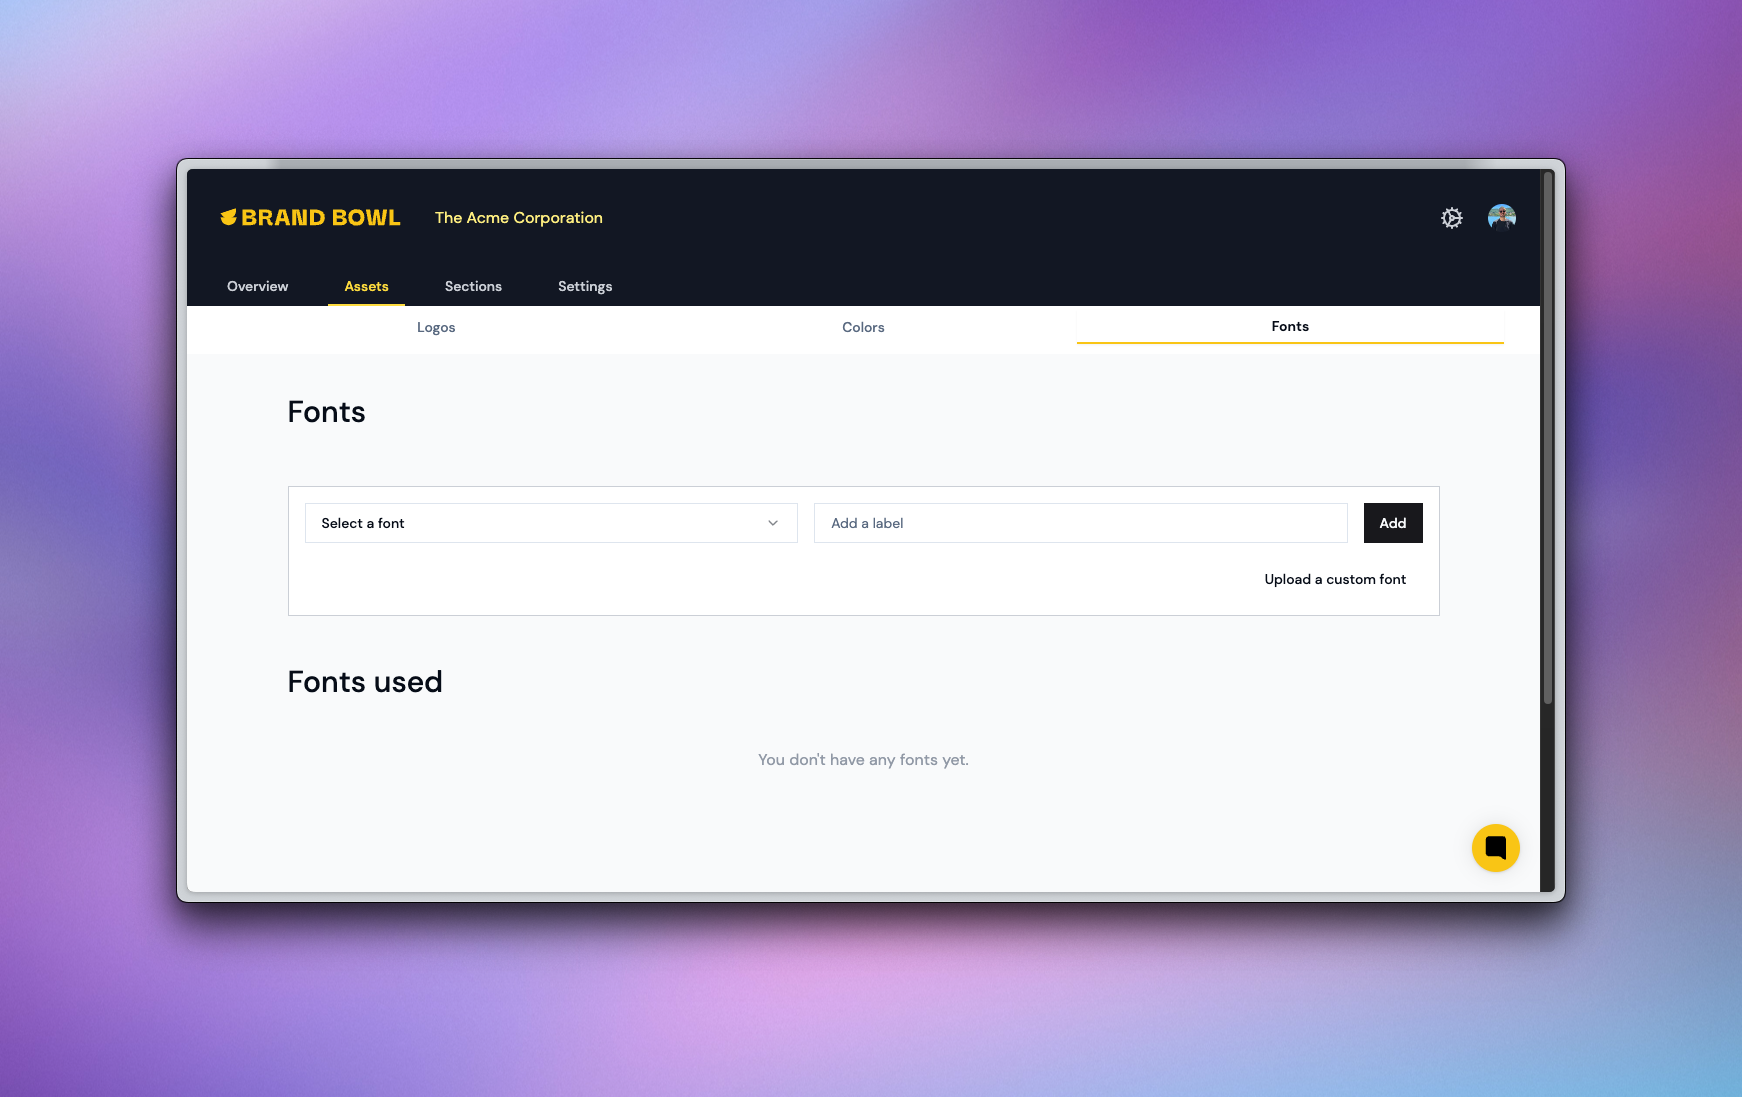
Fonts play a key role in defining a brand’s identity. Brand Bowl makes it easy to share fonts and specify how they should be used.
Go to you project, from the dashboard.
Click on the “Assets” tab.
Click on “Fonts”.
Want to add Helvetica or Times New Roman? Easy!
Search for the font name in the dropdown.
Add a font label.
Click “Add”, and you’re good to go!
Quick tip: You'll find them right at the top of the dropdown.
BrandBowl integrates with Google Fonts, making it easy to import fonts into your project. Just follow these simple steps:
Search for the font name in the dropdown.
Add a font label.
Click “Add”, and you’re all set!
BrandBowl supports custom fonts, and uploading them is simple:
Click the “Upload a custom font” button.
Select your font file.
That’s it! You can edit the font later to change its display name or label.
Good to know: BrandBowl supports the following font formats:
Extension | Format |
.woff | Web Open Font Format |
.woff2 | Web Open Font Format 2.0 |
.ttf | TrueType |
.otf | OpenType |

Once your project has logos, colors, and fonts, your public site is ready to go! But there’s still more you can customize.
A great next step is adding a brief:
